2. Risk Events
The Risk Events section in QuartzGOV contains a list of all Risk Events that were created by the company. Risk Events refer to specific risks that have been identified for the business through the media.
In the following sections, you will learn how to view, create, modify or delete a Risk Event.
Risk Events Section in QuartzGOV Viewing a Risk Event Modifying a Risk Event Creating a Risk Event Deleting a Risk Event
Risk Events section in QuartzGOV
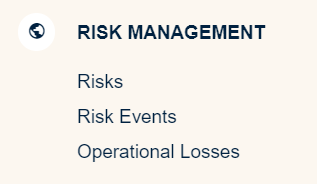
The Risk Management module in QuartzGOV contains 3 sections. In order to see a Risk Event, you must click on the Risks Events button.
Risk Management Section in QuartzGOV
Viewing a Risk Event
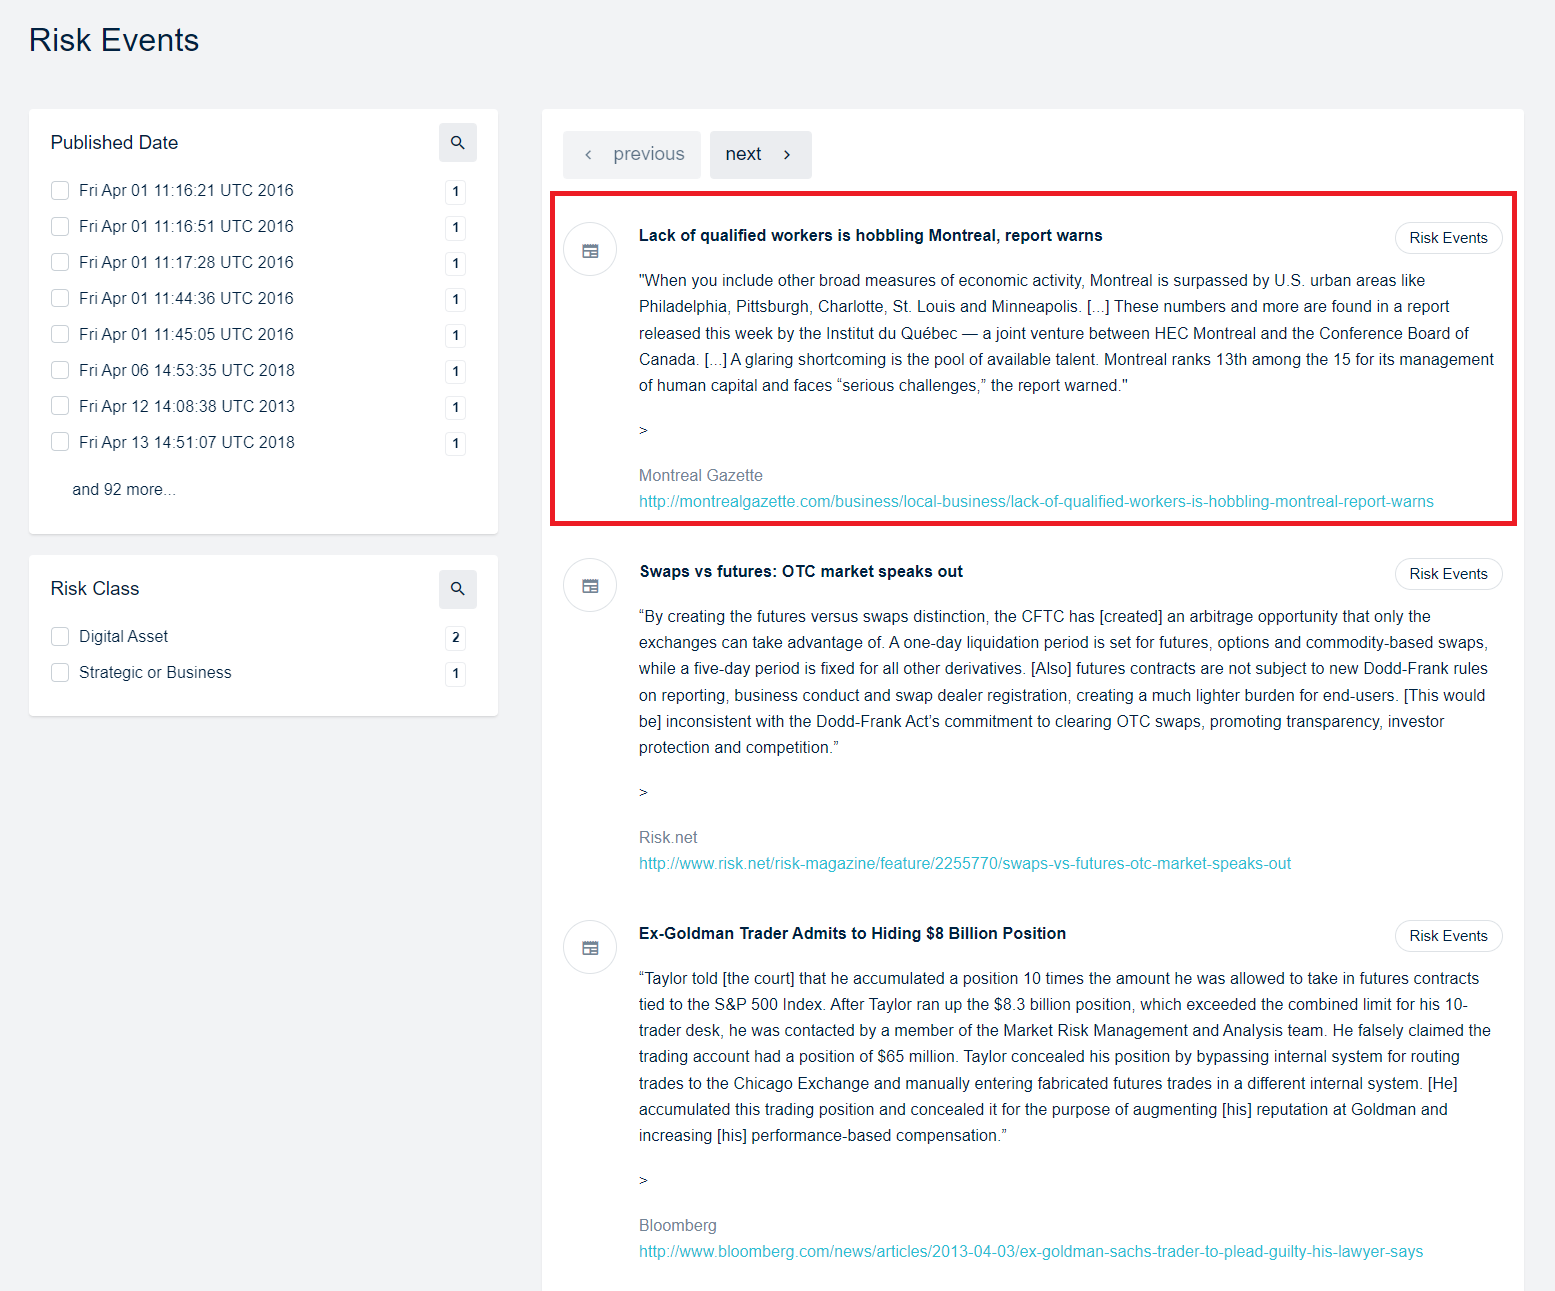
The Risks Events section contains the list of all Risk Events that have been created by the company. Users can search for a specific Risk Event by using the filters on the left side of the screen. To open and view a Risk Event, users can click on the specific Risk Event they want to see.
Risk Events Page and Opening a specific Risk Event
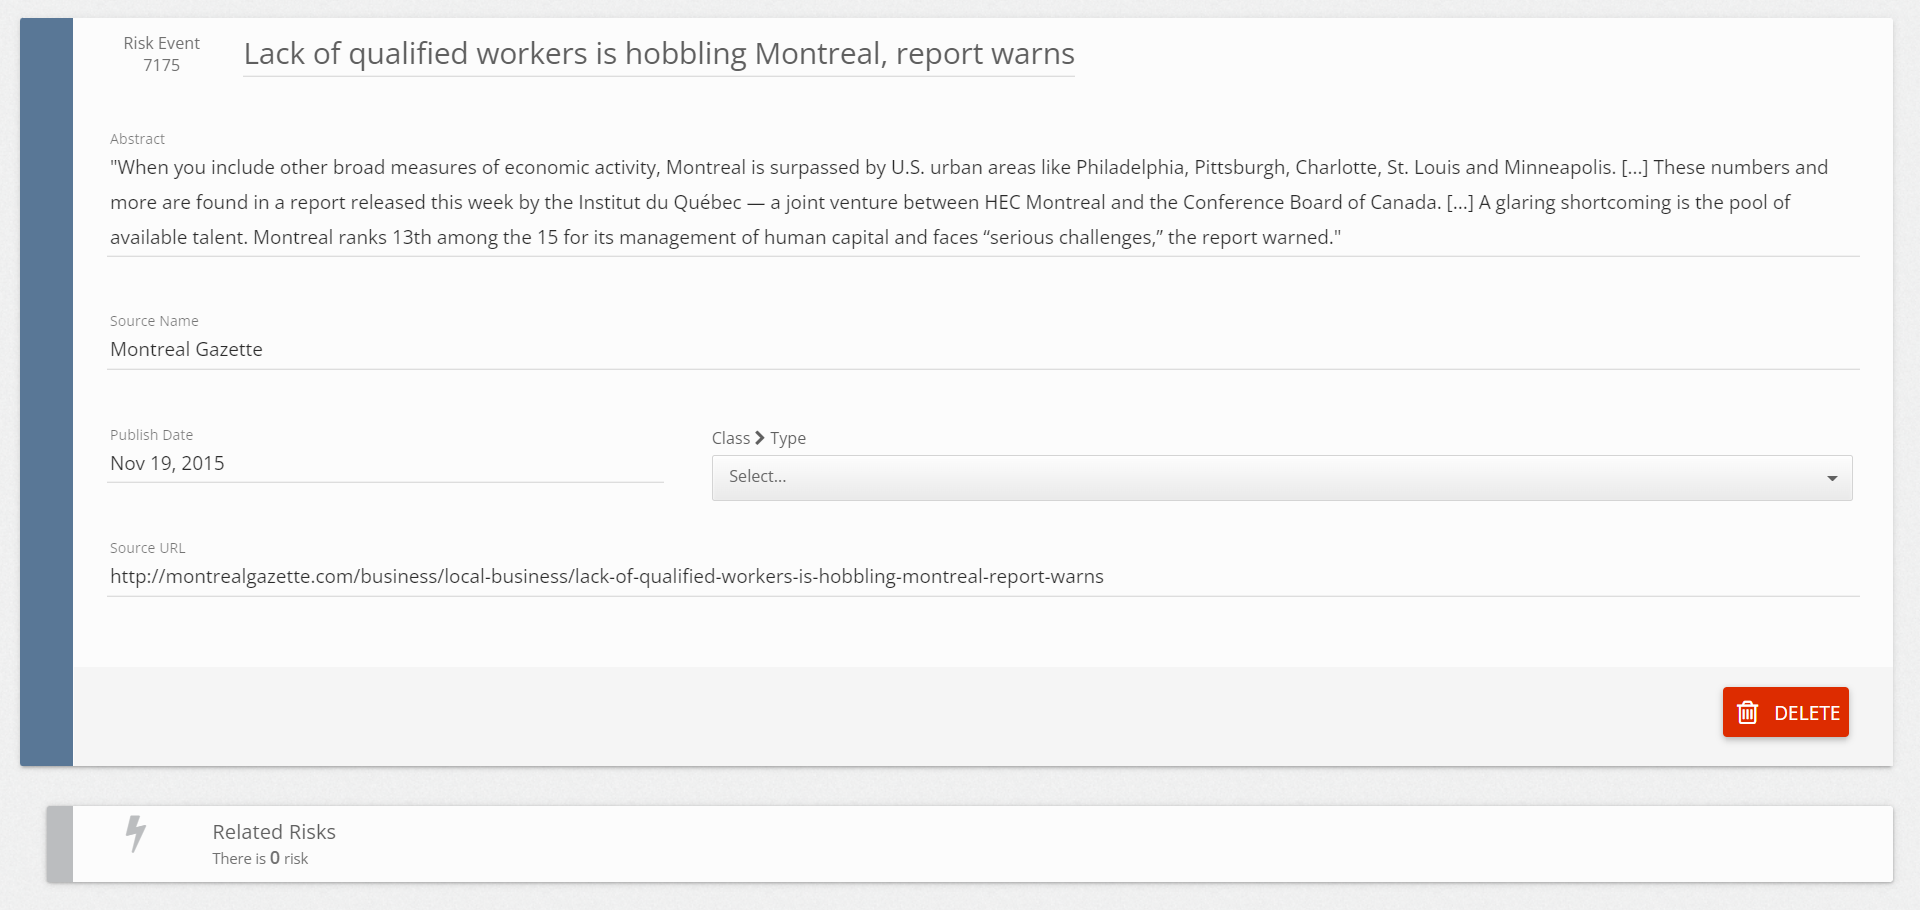
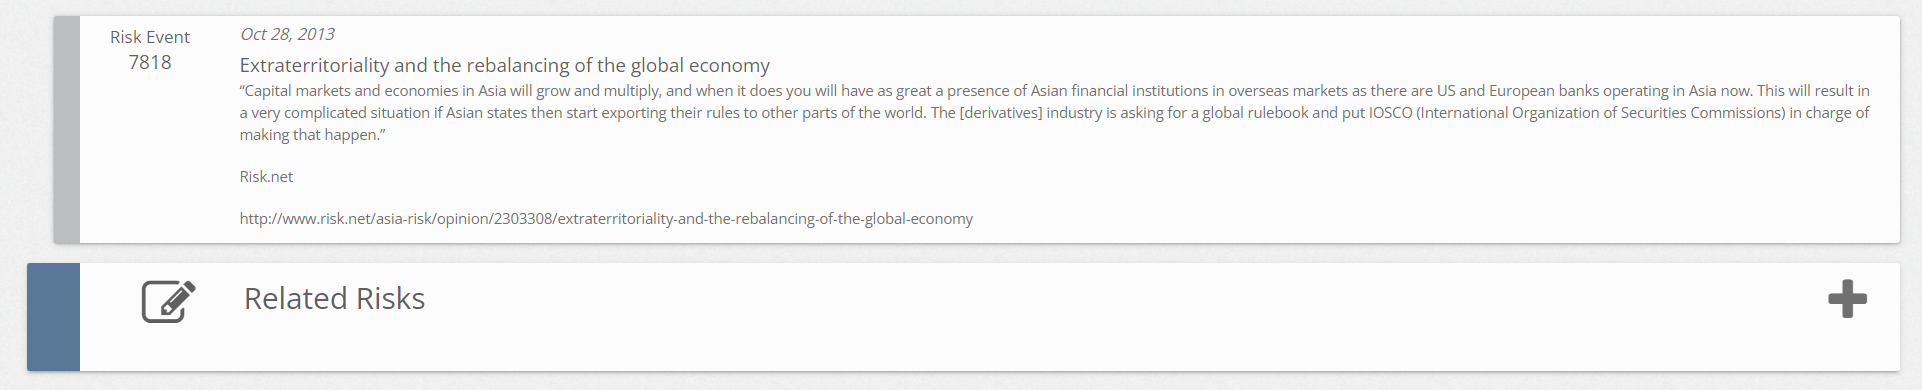
Once you have opened a Risk Event, you will see the following details:
- Risk Event ID: The ID is a number that is automatically attributed at Risk Event creation
- Title: The title of the Risk Event is selected by the Risk Event creator. It should indicate what Risk is concerned.
- Abstract: The abstract contains a description of the Risk Event.
- Source Name: contains the name of the media that was used to identify this Risk Event.
- Published Date: The date of publication of the Risk Event.
- Class and Type: The user that creates the Risk Event must select a Class and Type for the Risk Event. This information is predefined by the company, users must select it from the drop-down list.
- Source URL: A link to the article where the Risk Event was found.
- Related Risks: Risks can be associated to a Risk Event. If one of them is, users will be able to see it here.
Risk Event Details
Modifying a Risk Event
Users can modify a Risk Event, if they have created it or if they have the permission to do it. In order to do so, they simply need to open it as described above. They can make changes by clicking the section they would like to modify and select the new value. After making a change the users must click on the Save Changes button to ensure the change will be saved.
Save Changes Button

To add Risks, users must click on the Related Risks section at the bottom and click the plus sign that appears on the new window.
Related Risk Page
After doing this, users will be able to search for a Related Risk and to select the Related Risk they want to associate to a Risk Event.
Searching for a Risk in the Related Control Section
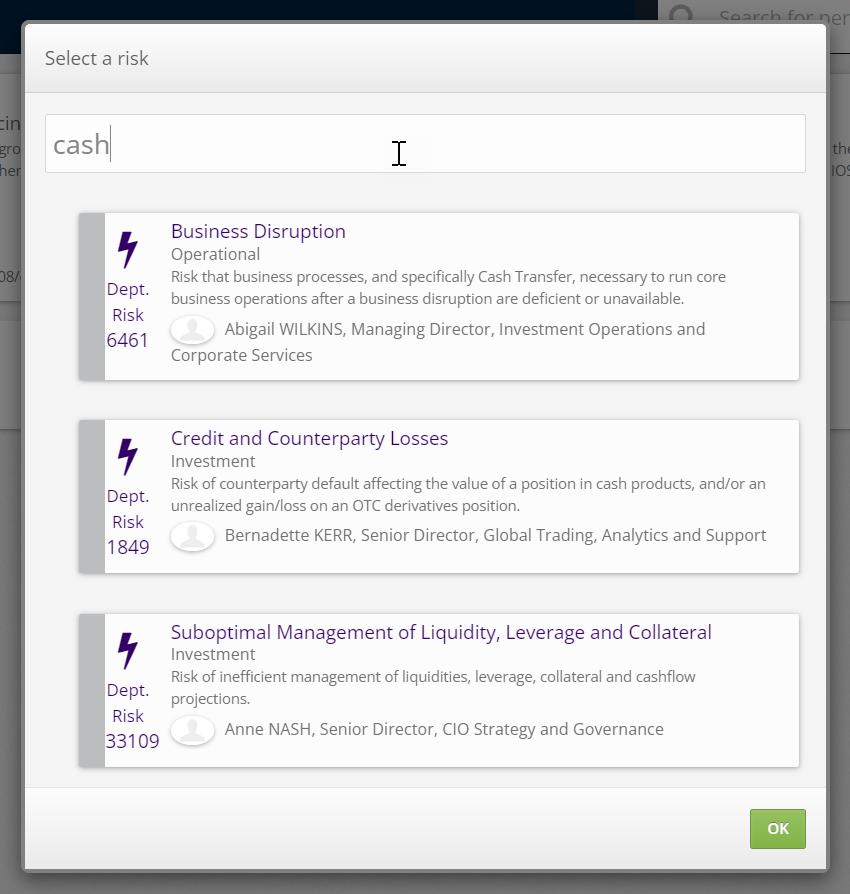
From this page, users need to click on a risk to automatically add it to their Risk Event. If a user wants to remove a Risk, they can click it and then click the Unlink button that appears on the next window.
Unlink Button on Related Risk

Creating a Risk Event
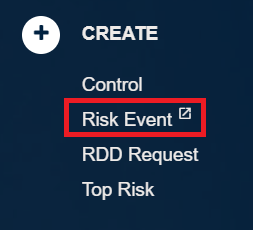
In order to create a Risk Event, users must click on the main menu in QuartzGOV and select Risk Events under the Create Section.
Creating a Risk Event
After clicking this button, the user will reach an empty Risk Event form. The user needs to fill out the form and to press the Save Changes button.
Please note that this button will not appear before the user has filled out all of the fields.
Save Changes Button
After saving the Risk Event, the user will be able to link it to a specific risk. Please note that the procedure is the same as that described in the previous section.
Deleting a Risk Event
Users can delete a Risk Event if they have created it or if they have the required permission level. In order to do so, the user needs to open the risk event and click on the Delete button at the bottom of the page. After clicking delete, the user will be sent to their home page and the Risk Event will no longer be accessible.
Delete button on the Risk Event Page